A Step-by-Step Visual Guide for Easy Maintenance
Maintaining your pump system is essential for ensuring long service life and stable performance. One of the most commonly replaced parts is the wear plate, which protects the pump casing from excessive abrasion during operation. Replacing it correctly can reduce downtime, improve efficiency, and prevent costly damage.
This guide explains the correct process for replacing a pump wear plate and helps users prepare the necessary spare parts in advance.
Why the Wear Plate Matters
The wear plate is designed to minimize friction and wear inside the pump. Over time, continuous operation with abrasive materials can cause the plate to thin, crack, or deform. If not replaced in time, this may lead to:
- Reduced pump efficiency
- Increased vibration and noise
- Damage to internal pump components
- Higher maintenance costs
Regular inspection and timely replacement are key to keeping your equipment running smoothly.
Tools and Parts Preparation
Before starting the replacement process, prepare the following items:
Required Tools
- Wrench set
- Screwdrivers
- Rubber mallet
- Cleaning cloth
- Lubricant or anti-seize compound
Replacement Parts
- New wear plate
- Fasteners or bolts (if necessary)
- Gaskets or sealing components
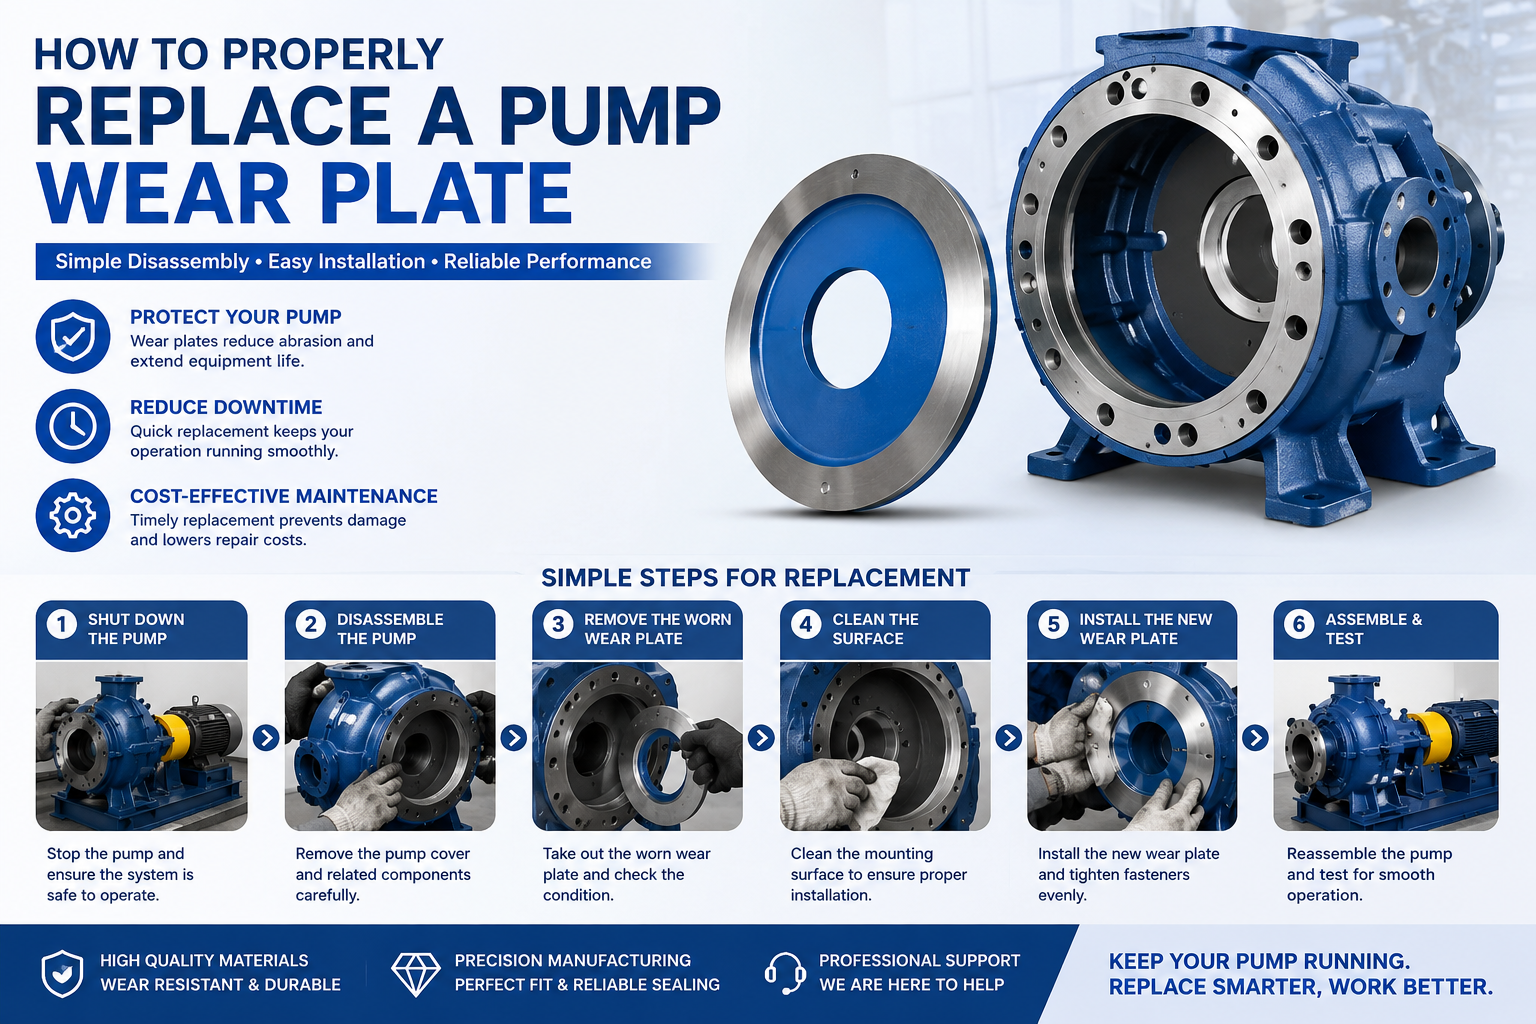
Step-by-Step Wear Plate Replacement Process
Step 1 – Shut Down and Isolate the Pump
Before any maintenance work, completely stop the pump and disconnect the power source. Ensure the system is depressurized and safe to handle.
Step 2 – Disassemble the Pump Housing
Carefully remove the pump cover or casing according to the equipment manual. Keep all removed bolts and components organized for reassembly.
Step 3 – Remove the Worn Wear Plate
Inspect the wear plate for signs of wear, corrosion, or cracking. Use the proper tools to remove the damaged plate without harming adjacent components.
Step 4 – Clean the Installation Surface
Thoroughly clean the mounting area to remove debris, rust, or residue. A clean surface helps ensure proper alignment and sealing.
Step 5 – Install the New Wear Plate
Position the new wear plate correctly and tighten all fasteners evenly. Avoid over-tightening, as this may affect alignment or damage the part.
Step 6 – Reassemble and Test the Pump
Reinstall the pump housing and reconnect the system. Perform a test run to check for abnormal noise, leakage, or vibration.
Maintenance Tips
To extend the service life of your wear plate and pump system:
- Conduct regular inspections
- Replace worn parts before failure occurs
- Use original or high-quality replacement components
- Follow manufacturer maintenance guidelines
Conclusion
Replacing a pump wear plate is a straightforward maintenance task when performed correctly. By following a clear disassembly and installation process, operators can reduce equipment downtime and maintain reliable pump performance.
For professional spare parts support or technical assistance, feel free to contact our team.